Updated August 2024: Stop these error messages and fix common problems with this tool. Get it now at this link
The “Open file on write” error is not a specific program error. It can occur when installing programs in the Windows operating system. It can affect any third-party Windows application and prevent its installation.
In this case, you will not be able to run certain applications on your PC, which causes great inconvenience. So, how to fix Windows 10 open file to write error? In this article, we will tell you some effective methods with detailed steps.
Table of Contents:
What is the cause of the “open file to write error” in Windows 10?

- The installation file itself may be corrupt, which causes this problem.
- Registry problems or excessive unnecessary files on your computer can also cause this error.
- If the installation file is incompatible with your system, it may cause this error.
- If the installation process of the file is already running in the background and you are trying to restart the installation, this error may occur.
- An antivirus program is known to prevent files that it considers a threat to your computer from being written, including installation files. Therefore, the antivirus program may be responsible for the open file error.
How to fix the “open file write error” in Windows 10?
This tool is highly recommended to help you fix your error. Plus, this tool offers protection against file loss, malware, and hardware failures, and optimizes your device for maximum performance. If you already have a problem with your computer, this software can help you fix it and prevent other problems from recurring:
Updated: August 2024

Remove traces of the previous or similar version of the software
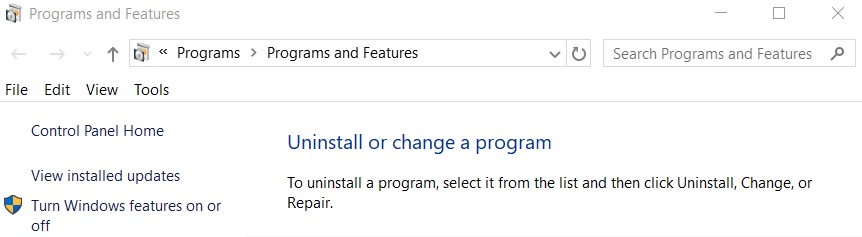
- Start by uninstalling the previous or similar version of the software through Control Panel -> Programs and Features.
- Uninstall another version of the software and reboot the system.
- Delete all folders and logs associated with this software.
Disable user account control
- Click on the search box and type “UAC”.
- In the advanced search results window, click on “Change user account control settings”.
- In the “User Account Control Settings” window on the left, drag the bar down to “Never Notify”.
- Then click “OK” to save the changes to your computer.
- Click “Yes” if User Account Control asks you to allow it.
- Then try changing/installing the application again.
Follow the compatibility troubleshooting procedure
- Locate the installation file (.exe) on your computer.
- Right-click on the program and select Properties.
- Then switch to the “Compatibility” tab.
- Then click “Run Compatibility Troubleshooter.”
- Then click “Try recommended settings” as a troubleshooting option.
- Once the problem is resolved, click “Apply” and “OK” to save the changes to your computer.
- Try running the installer on your computer again.
Changing permissions for the installation file
- First, navigate to the location of the installation file.
- Right-click on the installation file and select “Properties”.
- In the “Properties” window, click on the “Security” tab.
- Now click the “Change” button to change the security policy.
- Click the “Add” button.
- Make a note of everything and click the OK button.
- Select “All” from the list and “Select each permission” to get full control.
- Click Apply and OK.
- Restart your computer.
- Now try to install the application again.
APPROVED: To fix Windows errors, click here.
