Updated November 2024: Stop these error messages and fix common problems with this tool. Get it now at this link

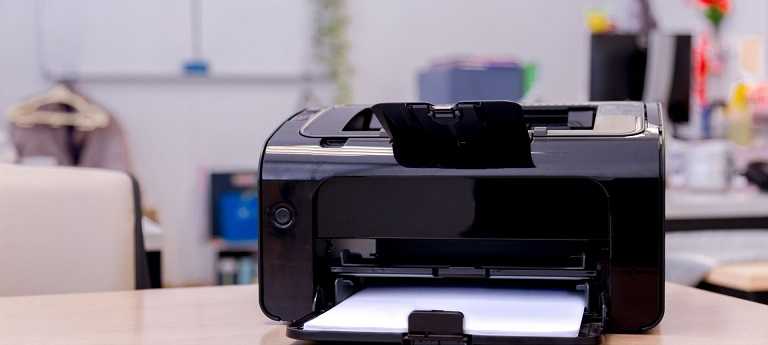
Windows printer installation fails with the error message “Unable to install the printer. Process failed to complete”? Users especially often report errors 0x000003eb Unable to install printer Operation could not be completed after installing Windows 10 Fall Creators Upgrade printer.
If you also get printer installation error 0x000003eb ‘Unable to install the printer. The operation could not be completed.” Apply the following solutions to resolve this problem.
Table of Contents:
What causes error 0x000003eb when installing a printer?
You must have concluded that the problem is due to incompatible or corrupted printer drivers. And you’re right, the 0x000003eb printer connection or installation error occurs because the drivers are somehow corrupt or incompatible.
How to resolve printer installation error 0x000003eb?
This tool is highly recommended to help you fix your error. Plus, this tool offers protection against file loss, malware, and hardware failures, and optimizes your device for maximum performance. If you already have a problem with your computer, this software can help you fix it and prevent other problems from recurring:
Updated: November 2024


Start the Windows Installer Service automatically
- Press the Windows + R keys to open the Run dialog box.
- Type services.MSC and click OK.
- Find the Windows Installer Service in the list of services, right-click it, and choose Properties from the context menu.
- Select the General tab, change the startup type to Automatic and click the Start button.
- Restart your computer.
Uninstalling and reinstalling drivers
- Press Windows + R to open the Startup window.
- Type control and press Enter to open the classic control panel interface.
- In the search bar in the upper-right corner of the screen, type Printers.
- Click the Devices and Printers entry in the search results list.
- Click to select printers.
- Click Print Server Properties on the menu bar.
Select the Drivers tab, highlight the old printer driver, and click Delete for each driver found. - For a network printer, click the Ports tab and remove all ports used by or connected to the problematic, malfunctioning, or non-existent printer, or ports from a previously failed installation.
- Do not delete all ports.
- Reboot the computer.
Disconnect other external devices
Disconnect external devices and try to install the printer. Also, go to the Device Manager and disable the following devices:
- Sound card
- Video card
- Network card
- Modems
- Ports (serial and parallel)
APPROVED: To fix Windows errors, click here.
Frequently Asked Questions
How to fix error 0x000003eb?
- Run PrintManagement.msc, which you can also open via Control Panel-> Administration > Print Management.
- Expand Print Servers, then the name of your computer.
- Go to Drivers and uninstall any printer drivers associated with the problematic, malfunctioning, or non-existent printer, as well as any remaining drivers from the previous installation.
- Reboot the computer.
- Install the printer again.
How do I fix a printer that won’t install?
- Purchase a new printer.
- Check the print process files.
- Follow the printer troubleshooting procedure.
- Use a clean startup.
- Uninstall the printer driver.
How do I install a printer driver in Windows 10?
- Click the Start button, then select Settings -> Devices -> Printers and Scanners.
- Open the printer and scanner settings.
- Select Add printer or scanner.
- Wait until the nearest printers are detected, then select the desired printer, and then select Add Device.
