- Download and install the software.
- It will scan your computer for problems.
- The tool will then fix the issues that were found.
Microsoft recently announced that it had fixed a bug in Windows 10 that could cause media to capture failures. This bug affected devices such as webcams, microphones, and cameras. Microsoft says that the fix will be included in the next major update to Windows 10, which is due out later this month. If you are experiencing problems with your camera, microphone, or webcam, you can try installing the latest version of Windows 10 to see if that resolves the problem. You can download Windows 10 here.
If you are still having trouble with your device, you might want to check out our troubleshooting guide to learn how to diagnose and repair common issues with webcams, microphones, and cameras.
Table of Contents:
What causes camera error 0xa00f4271 in Windows?
Error code 0xa00f4271 is one of those errors that most computer users encounter at least once in their lifetime. While it doesn’t necessarily mean anything serious, it is still important to know what causes this error, so you don’t end up wasting hours trying to fix it.
The problem usually happens due to outdated software or hardware. If you recently installed a program that uses old drivers, you might face issues like this. You can try uninstalling the driver manually or reinstalling it via Device Manager.
Another common cause of this error is a faulty hard disk. If you notice problems while accessing files or performing operations on your computer, it could be because of a damaged hard disk. In such cases, you can replace the hard disk with a new one.
Drivers for the webcam should be updated
The 0xa00f4171 error code is one of those issues that pop up now and then, especially during system reboots. You might think it’s just a minor issue, but sometimes it turns into something much worse. If your PC starts having problems like freezing or crashing, it could mean serious problems with your hardware or even your operating system.
In this case, you should take action immediately because if you don’t fix this problem soon enough, it could lead to data loss or even render your computer unusable. This is why we recommend updating the webcam’s driver.
Nowadays, most webcams come preinstalled with a standard driver that works fine. However, if you’re using a device that came with an older version of Windows, the webcam’s driver isn’t compatible with the latest OS release. So, you need to update the webcam’s driver to make sure everything runs smoothly.
To do that, follow these simple steps:
1. Download the appropriate driver installer.
2. Double-click on the file and run the setup program.
3. Follow the instructions displayed on the screen.
Updated: September 2024
This tool is highly recommended to help you fix your error. Plus, this tool offers protection against file loss, malware, and hardware failures, and optimizes your device for maximum performance. If you already have a problem with your computer, this software can help you fix it and prevent other problems from recurring:
- Step 1 : Install the PC Repair and Optimizer Tool. (Windows 10, 8, 7, XP, Vista).
- Step 2 : Click Start Scan to determine what problems you are experiencing with your computer.
- Step 3 : Click Repair Allto resolve all problems.

Install the latest Windows 10 update
1. Open the Cortana search box with the windows key + Q keyboard shortcut.
2. Enter update in the search bar to search for the update settings and open the top result.
3. Press the Check for Updates button.
4. Windows will then automatically install available patches.
5. Restart Windows if it installs additional updates.
Some users have reported that patch updates fixed error code 0xa00f4271.
Make sure the camera settings are correct
If you want to use the webcam on your computer, you’ll need to make sure it’s turned on. You can do this by opening the Control Panel, clicking Change PC Settings, and selecting Hardware & Sound. Click the Device Manager button, locate the webcam entry, and check whether the Webcam icon is green. If it isn’t, select Turn On.
You’ll also need to allow applications to access the camera. For example, if you’re using Skype, you’ll need to enable it under Choose Which Apps Can Access Your Cameras.
The webcam should be reset
The problem with webcams is that they are often difficult to reset. Many people don’t even know how to do it properly. If you’re having problems with your webcam, here’s what you need to do.
1. First, make sure your computer is running Windows 10. You’ll need to restart your PC once you’ve completed the steps.
2. Next, press and hold the Windows button on your keyboard. Once the screen turns black, release the keys. This will bring up the power menu. Choose Restart.
3. You’ll now see the windows logo and a progress bar. Wait until the process completes. When done, you’ll see a blue screen of death. Press Ctrl+Alt+Del to turn off your computer.
4. Look for anything named “Webcam.” Right-click on it and choose Uninstall.
5. Afterward, restart your device again. Now try turning on your camera. Hopefully, it works like new.
You may want to check your antivirus software
Your antivirus software may have been blocking access to your webcams. This could trigger the error code 8007001 when attempting to use it. In some cases, the webcam itself may be faulty. However, there are steps you can take to fix the issue without having to replace the device.
Open up your antivirus program and allow access to your webcam. If you see the same error code again, try reinstalling your antivirus software.
If you don’t find anything wrong with your antivirus software, it may be possible that your computer just doesn’t support webcams. Try updating your drivers. For example, Windows 10 automatically installs the latest version of the driver for your webcam during installation.
You can check if your webcam works appropriately by opening your browser and searching for “webcam.” If you see a list of supported devices, you know your webcam works. If you don’t see such a list, you’re out of luck.
Using Windows Store apps troubleshooter
If the webcam error 0xa00f4271 appears while using apps installed via the Windows Store, such as Skype, the Windows Store App Troubleshooter might help resolve the issue. To use it, follow these steps:
1. Open the Settings app.
2. Select “Update & security.”
3. Click on “Troubleshoot.”
4. Scroll down to “Windows Store Apps” and click on it.
5. On the next screen, click on the “Run the troubleshooter” button.
6. Wait for the process to complete.
7. When done, restart your device.
Check the compatibility of your webcam
If you are having trouble getting your webcam working on your computer, try checking whether or not the webcam drivers are compatible with your operating system version. You can do this easily by looking inside the Properties window. There, you’ll see a list of devices attached to your computer. Click on the Device Manager tab and scroll down to the bottom of the window. Here, you should see a list of device drivers installed on your machine.
Next, open up the Driver Details window. This window lists every single device driver associated with your computer. Scroll down to the bottom of this window and locate the driver named “stream.sys.” If there isn’t one listed here, chances are, your webcam doesn’t work.
If you cannot find the stream.sys file, which means that your webcam is incompatible with your operating system. In such cases, you will have to install another webcam.
APPROVED: To fix Windows errors, click here.
Frequently Asked Questions
How can I repair error 0xA00F4271?
Go to Start -> Settings -> Privacy -> Camera. Select the preferred setting for allowing applications to access the camera. Under Select apps allowed to access the camera, enable or disable individual app settings. Restart your computer and test the camera.
How to solve the camera in Windows 10?
Look for your camera under "Cameras, imaging devices" or "Sound, video, and gaming controllers." If you can't find your camera, choose the "Actions" menu, then "Search for Hardware Changes." Wait for the scan to complete, reinstall the updated drivers, reboot your device, and then try opening the Camera app again.
What is the best way to update my camera drivers?
- Open Start.
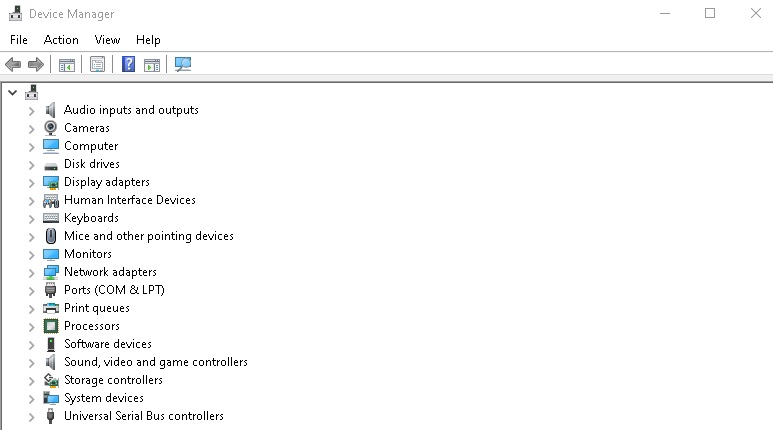
- Find "Device Manager" and click on the top result to open the app.
- Expand the "Imaging Devices, Camera or Sound, Video and Game Controllers" branch.
- Right-click on the webcam and select Update Driver.
