- Download and install the software.
- It will scan your computer for problems.
- The tool will then fix the issues that were found.

Some Windows 10 users cannot install apps from the Windows Store. The error that occurs is 0x80073d0a, and it usually appears after users click the get button to download and install an app. Some affected users report that the problem only occurs with certain UWP apps, while others say they only see this error with certain apps. The Windows Store is exclusive to Windows 10, so the problem only occurs in that version of the operating system.
We investigated this particular problem through various user reports. We then tested dozens of repair strategies recommended by other users to solve the problem and determine the best repair strategies.
Table of Contents:
Check date and time settings

Incorrect date and time settings often cause Windows Store to fail. Therefore, check that the date and time on your computer are correct. To do this, press Windows Key + I to open the settings and find the date and time. Verify that the settings are correct. If not, change it. It is also advisable to uncheck the “Set time automatically” option and activate it after a certain time.
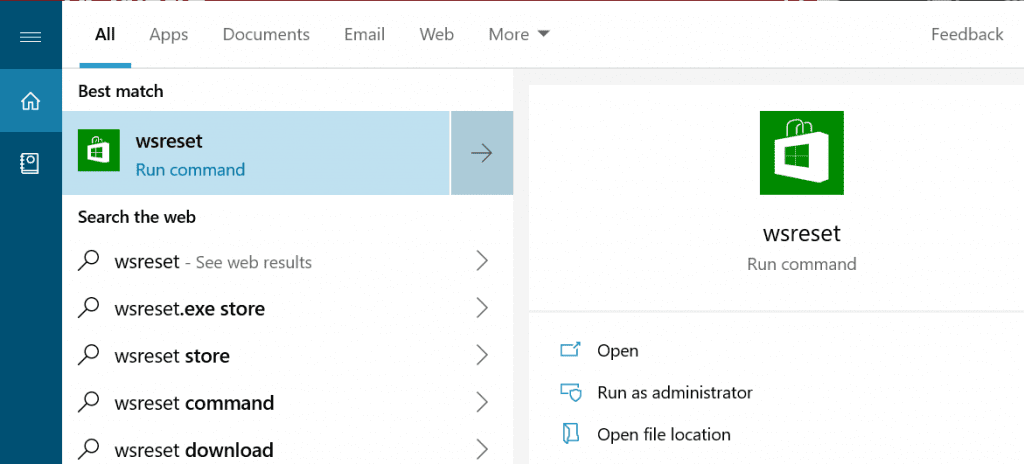
Resetting Windows Store cache
It turns out that this problem can also be caused by some type of corruption that affects your PC’s ability to establish connections between your UWP embedded storage and Microsoft servers. In most cases, this problem is caused by some temporary files stored in the cache folder.
This type of problem usually occurs after certain items have been quarantined by a security scanner or after an unexpected machine crash. Careless updates are a rare but possible cause that can make it easier for error 0x80073d0a to appear.
Several Windows users who have also struggled with this problem have reported that they were able to solve the problem by resetting the Windows Store and all of its components.
Note that there are two ways to reset the Windows Store cache in Windows 10. The first option is easier, but it relies on running a series of commands from the CMD terminal. However, if you are not familiar with running CMD commands, you can also use the exclusive GUI, which allows you to perform the same process just through the Windows settings menu.
Disable anti-virus software and the Windows firewall.
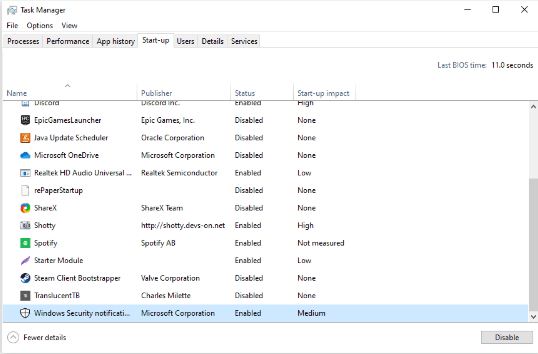
Whatever antivirus software you’re using may also be the source of the problem. To solve this problem, you may need to temporarily disable antivirus. Here’s how to do it:
- Go to the Task Manager.
- Close the antivirus program if it’s running.
- Locate the security software icon in the taskbar.
- Right-click it and select Disable.
- After that, turn off the Windows firewall. Here’s how:
Updated: July 2025
This tool is highly recommended to help you fix your error. Plus, this tool offers protection against file loss, malware, and hardware failures, and optimizes your device for maximum performance. If you already have a problem with your computer, this software can help you fix it and prevent other problems from recurring:
- Step 1 : Install the PC Repair and Optimizer Tool. (Windows 10, 8, 7, XP, Vista).
- Step 2 : Click Start Scan to determine what problems you are experiencing with your computer.
- Step 3 : Click Repair Allto resolve all problems.

- Press the Win + X key combination on your keyboard and select Control Panel.
- Locate the Windows firewall and click it.
- Tap the Enable or Disable Windows Firewall option.
- You may be prompted to enter your administrator password. Do so and click OK.
- Turn off the Windows Firewall for private and public networks.
- Click OK to save your changes and close the programs.
Reinstall the Windows Store
If none of the previous methods worked, the last thing you can try is to reinstall the Windows Store and then install all available Windows 10 updates. To do this, you need to:
- Press Windows Key + R and enter PowerShell.
- Right-click the search results and select “Run as administrator”.
- Type Get-Appxpackage -Allusers and press Enter.
- Find the list in the Windows Store and copy the package name. To do this, highlight it and press Ctrl + C.
- Then type Add-AppxPackage -register “C: \ Programs \\ WindowsApps \” -DisableDevelopmentMode.
- NOTE. Replace PackageFullName with the name of the package from the Windows Store by pressing Ctrl + V. Also enter the system root driver letter instead of C:.
- Then reopen PowerShell with administrator privileges as described above.
- Add the Add-AppxPackage-Register command “C: \ Program Files \\ WindowsApps \” -DisableDevelopmentMode and press Enter.
- Finally, restart the system for all the changes to take effect.
Here we go – we hope that one of the above solutions helped you to get rid of error code 0x80073DOA. Which of the above fixes worked the best? Share in the comments below.
APPROVED: To fix Windows errors, click here.