- Download and install the software.
- It will scan your computer for problems.
- The tool will then fix the issues that were found.

With Windows 10, you can play HDR (High Dynamic Range) content on an HDR10 compatible built-in display or on an external monitor (or TV) connected to your computer.
HDR is a technology designed to improve the contrast and color of the content displayed on the screen. Unlike standard dynamic range (SDR), advanced dynamic range provides brighter, more vivid and varied color details for better image quality in supported videos, games and applications.
While HDR technology only works on powerful smart TVs, it’s not so easy on desktops and laptops running Windows 10. You have to make sure your device meets the minimum requirements. You need to manually enable HDR on the screen and in the operating system, and various problems can arise.
Table of Contents:
Update Windows, the Game Bar and drivers to the latest versions
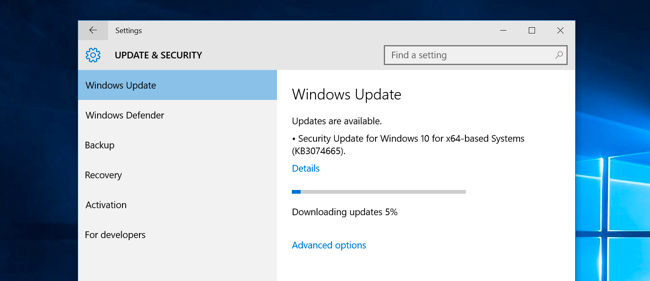
Microsoft and its third-party vendors are constantly updating their products (Windows and its drivers) to keep up with the latest technological advances and to fix bugs that they find, such as those that cause problems. In this regard, updating Windows, Game Bar and your system drivers to the latest version may solve the problem.
- Update Windows and your system drivers to the latest versions. If you’re using an external video card, check the OEM website (such as the Nvidia website) for the latest drivers. Also, be sure to download and install the latest drivers for your monitor from the OEM website.
- Then launch your web browser and go to the Game Bar web page on the Microsoft Store.
- Now click “Get” and select “Open Microsoft Store” in the dialog box that appears.
- Then check to see if an update is available for the Game Bar. If so, update the game panel and see if the HDR issue is resolved.
Disable in-game overlay in NVIDIA GeForce Experience

An overlay is an application that has part of the user interface on top of other applications. Many voice and graphics applications have overlays to enhance gameplay. Sometimes they do the opposite, using bandwidth or causing compatibility issues with certain programs. In this case, you should disable it. Programs with overlays often turn them on automatically every time they are updated. If you’re having performance issues with every update, you should always turn them off.
Nvidia GeForce Experience is a control panel with graphics drivers, optimized game settings, and automatic updates. It includes the Nvidia ShadowPlay overlay, which allows you to record video, take screenshots, and broadcast gameplay.
- Click on the taskbar to show hidden icons
- Right-click the Nvidia Nvidia_icon.png icon
- Click on the GeForce Experience.
- Click the settings icon
- Disable the in-game overlay
- Close the GeForce Experience window.
Enable mouse pointer trails in Windows 10
The mouse pointer, also called the cursor, is a graphical symbol that shows how your pointing device moves across the screen. A user can control objects on the screen using a mouse, touchpad, or other pointing device. This article shows you how to enable mouse pointer tracking.
If this option is enabled, a track is added behind the pointer. Users who lose their mouse pointer as they move it around the screen find it very useful. Track improves mouse pointer visibility in Windows 10.
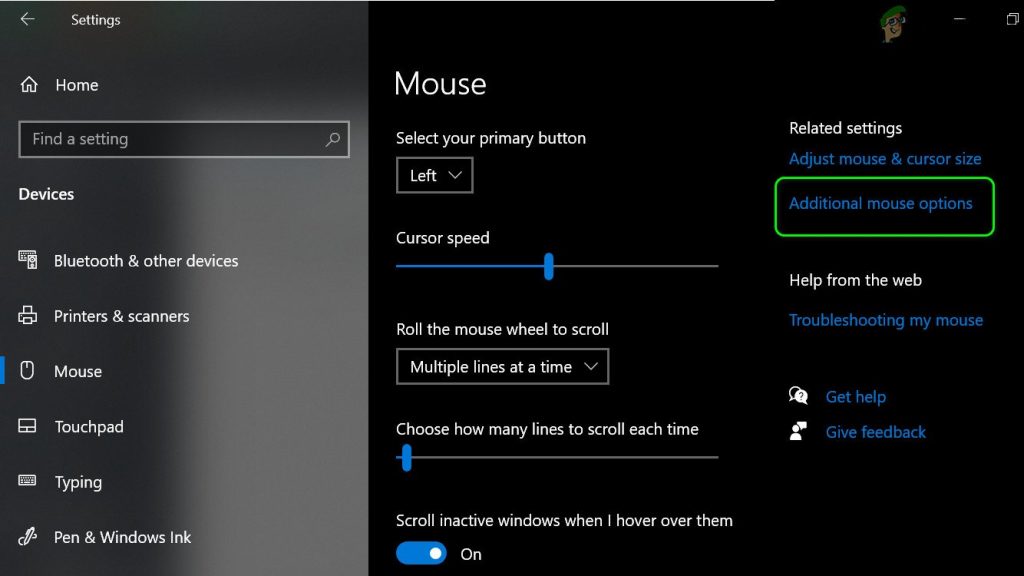
- Open the Settings app.
- Go to Peripherals – Mouse.
- Under “Related Settings” on the right side, click the “Advanced Mouse Settings” link.
- In the Mouse Properties dialog box, click the Pointer Options tab.
- In the Visibility section, turn on the Display Pointer Trails option.
- You can set the desired length of the pointer trails using the slider under the checkbox.
APPROVED: To fix Windows errors, click here.