- Download and install the software.
- It will scan your computer for problems.
- The tool will then fix the issues that were found.
Have you ever seen the error message “An existing connection was forcibly closed”? If you have, you know how frustrating it can be. This error can occur for many reasons, but there are a few ways to fix it. In this blog post, we will discuss what causes the “An existing connection was forcibly closed” error and how to fix it. We will also provide some tips to help prevent this error from occurring in the future.
Table of Contents:
What caused the ‘An existing connection was forcibly closed’ error message?

After receiving numerous reports from several users, we decided to investigate the problem and develop a number of solutions to fix it. We also looked into the causes of the error and listed them below.
Using TLS 1.1/1.0: If the application is running on TLS 1.1 or TLS 1.0, this error may be due to them being out of date. If the application itself chooses which protocol to use, TLS 1.2 is the correct choice.
Cryptography Disabled: If cryptography has been disabled on your computer, this prevents the use of TLS 1.2 and switches to TLS 1.0, which can cause this error.
Socket implementation: In some cases, the error is caused by a specific socket implementation. In some “.NET” application implementations, there is an error that can cause this error.
Missing code: Some people using the Entity Framework has been found to be missing a specific line of code, which is what caused the error.
Outdated .NET Framework: In some cases where the “.NET” Framework has been disabled, this error may occur. For some tasks, you need to update the “.NET” framework to the latest version to make it work properly.
Now that you have a basic understanding of the problem, let’s look at the options for solving it. Be sure to follow them in the order listed to avoid conflicts.
Updated: November 2024
This tool is highly recommended to help you fix your error. Plus, this tool offers protection against file loss, malware, and hardware failures, and optimizes your device for maximum performance. If you already have a problem with your computer, this software can help you fix it and prevent other problems from recurring:
- Step 1 : Install the PC Repair and Optimizer Tool. (Windows 10, 8, 7, XP, Vista).
- Step 2 : Click Start Scan to determine what problems you are experiencing with your computer.
- Step 3 : Click Repair Allto resolve all problems.

How to repair the “An existing connection was forcibly closed” error message
Disable Windows Firewall

1. Open the Start menu and type “firewall” into the search box.
2. Select “Windows Firewall” from the list of results.
3. Click the “Turn Windows Firewall on or off” link in the left pane.
4. Choose to turn off the firewall for both public and private networks, then click “OK.”
5. You can also choose to turn off the firewall for just one type of network if you wish. For example, if you’re behind a router with its own firewall, you may not need the additional protection provided by Windows Firewall.
Disabling the Windows Firewall can leave your computer vulnerable to attack, so it’s important to only do so if you’re sure that you won’t need it. If you’re not sure, it’s better to leave it enabled and add exceptions for programs that you know are safe.
Start SFC scan
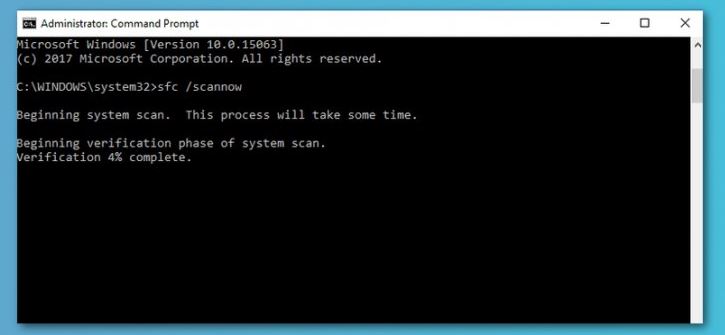
Running the system file checker on Windows 10 is a simple process that can be completed in just a few steps.
- First, open the command prompt by clicking on the start menu and typing “cmd” into the search bar.
- Once the command prompt is open, type “sfc /scannow” and press enter. This will initiate a scan of all files on your computer and attempt to repair any that are damaged or corrupt.
- The scan can take several minutes to complete, and you may be asked to restart your computer if any repairs are made. However, once the scan is finished, you should have a list of any corrupted files that were repaired by the system file checker.
Launch DISM tool
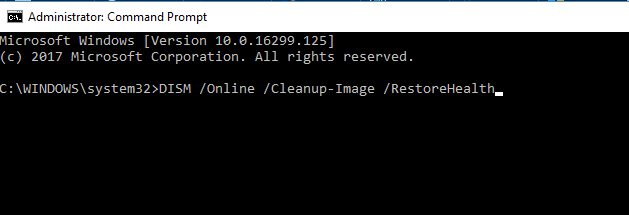
1. Open the Command Prompt as an administrator. To do this, search for “Command Prompt” in the start menu, right-click on the resulting app, and select “Run as administrator.”
2. In the Command Prompt window, type “dism.exe /online /cleanup-image /scanhealth” and press Enter.
3. Wait for the scan to complete. This may take a few minutes.
4. Once the scan is complete, type “dism.exe /online /cleanup-image /restorehealth” and press Enter.
5. Wait for the restoration process to finish. This may take a few minutes.
6. Once the process is complete, close the Command Prompt window and restart your computer.
Perform system restore
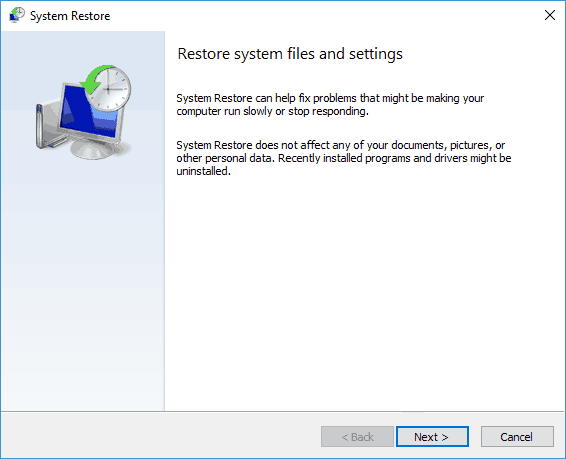
System restore is a feature in Windows 10 that allows you to roll back your computer to a previous state. This can be useful if you’ve installed an update that’s causing problems, or if you want to go back to a previous version of Windows. Here’s how to perform a system restore in Windows 10:
1. Open the Start Menu and type “Create a restore point.”
2. Click the “System Properties” link.
3. Under the “System Protection” tab, click the “System Restore” button.
4. Click the “Next” button.
5. Select the restore point that you want to use, then click the “Next” button.
6. Follow the prompts to complete the system restore process.
Update your .NET Framework application
In order to update your .NET Framework application on Windows 10, you will need to follow a few simple steps.
- First, you will need to open the Microsoft Store app and search for the “.NET Framework” app.
- Once you have found the app, you will need to click “Update” to download the latest version of the .NET Framework.
- Once the update has been downloaded, you will then need to install it by double-clicking on the “.NET Framework Update” file and following the prompts.
- After the installation is complete, you will need to restart your computer in order for the changes to take effect.
That’s it! By following these simple steps, you will be able to update your .NET Framework application on Windows 10 with ease.
APPROVED: To fix Windows errors, click here.
